I’m working on updating my portfolio at the moment. Since my work were all in Unity, I just find it easier to build levels in game engine instead of using other software like Marmoset (which I don’t own).
The only drawback is I don’t know enough how to do good lighting or use post processing. Also, with different versions of Unity, the process can vary as well.
I’m using Unity 2020.2.1f1 right now. The process for current post processing has changed since the last time I used it (it was like, Unity 2017.1, I think?). For Unity 2017.2+, we have to use Post Processing stack v2. So I started looking into this a few days ago. For me, often time the best way to look up Unity tutorials through youtube. So I find this video
In case this video would be removed in the future, here’s the break down:
- Download and install Post Processing package using Unity Package Manager.
- Select a camera on your scene. On Layer tab, select Add Layer…
- Create a layer called PostProcessing
- Set the camera’s layer to PostProcessing
- Go under Packages/Post Processing/Runtime folder. Drag Post-Processing Layer module to the camera.
- From the same folder, drag Post-Processing Volume module to the camera.
- On camera’s properties, change Rendering Path to Deferred
- On Camera’s Post-Process Layer component, set Layer to PostProcessing
- On Camera’s Post-Processing Volume component, click on New next to Profile variable. This is how we crate new profile, similar to the one we used in older version of Post Processing stack.
- Use this profile to get the different post-processing effects we want.
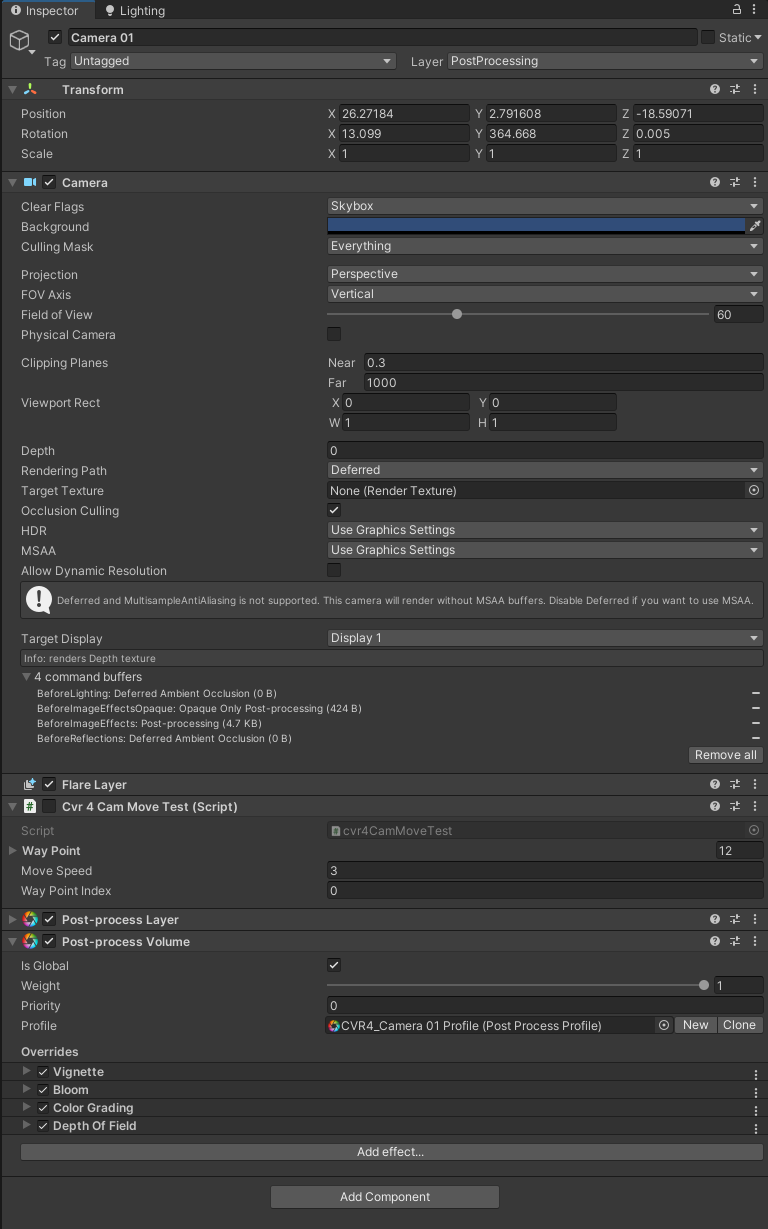
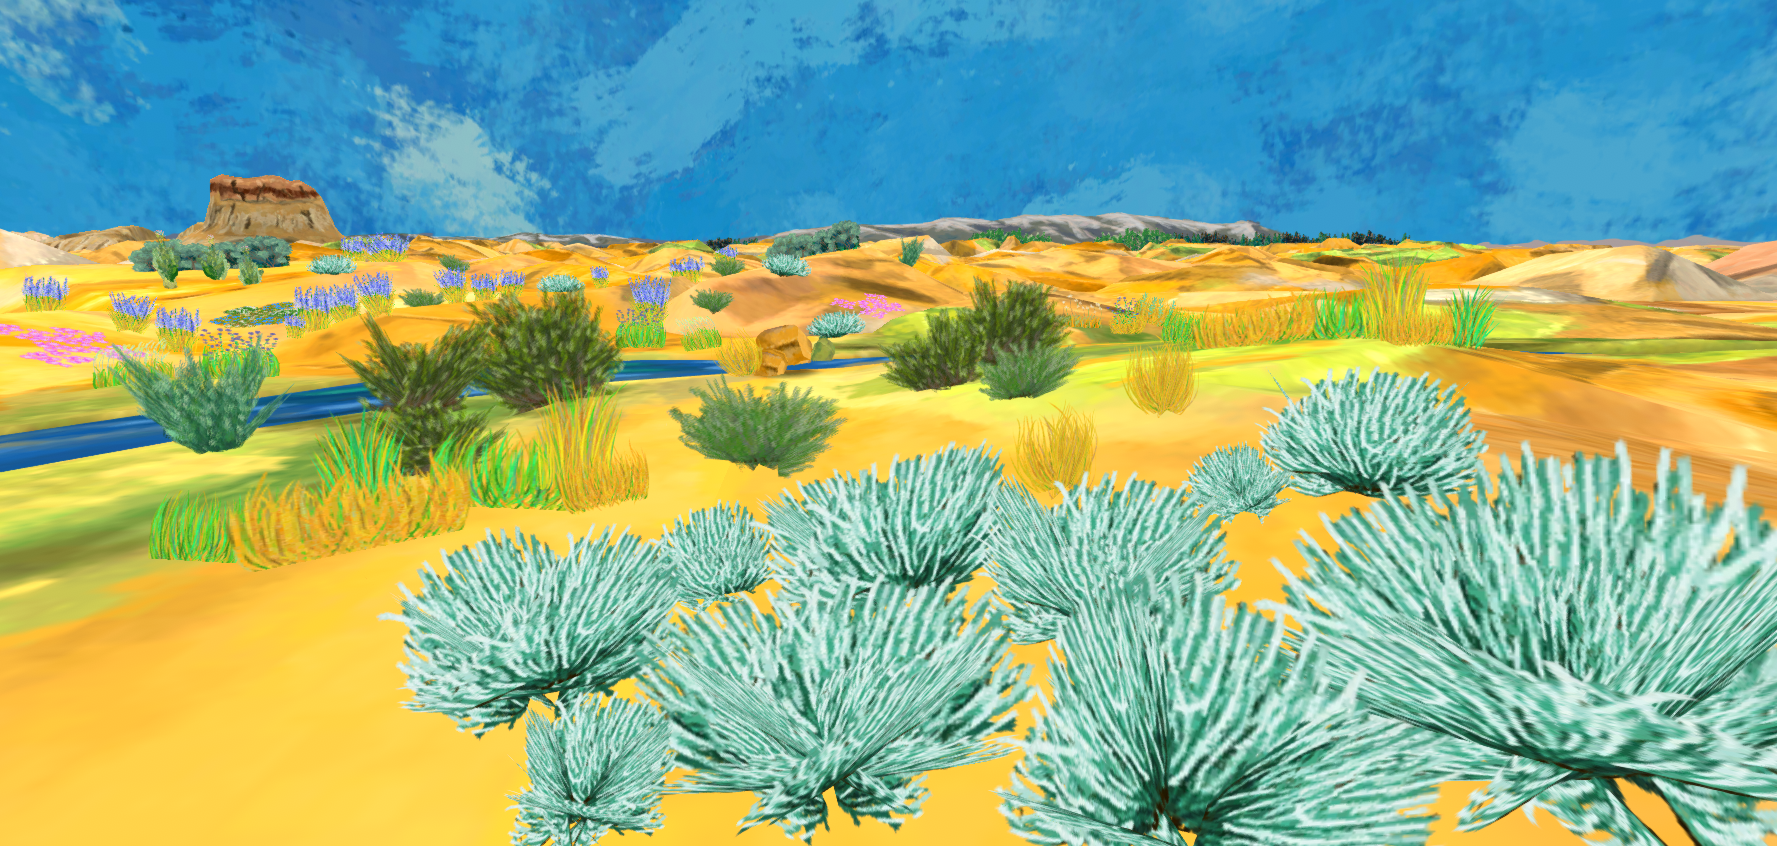
Camera 01 view without Post-Processing:
View with Post-Processing
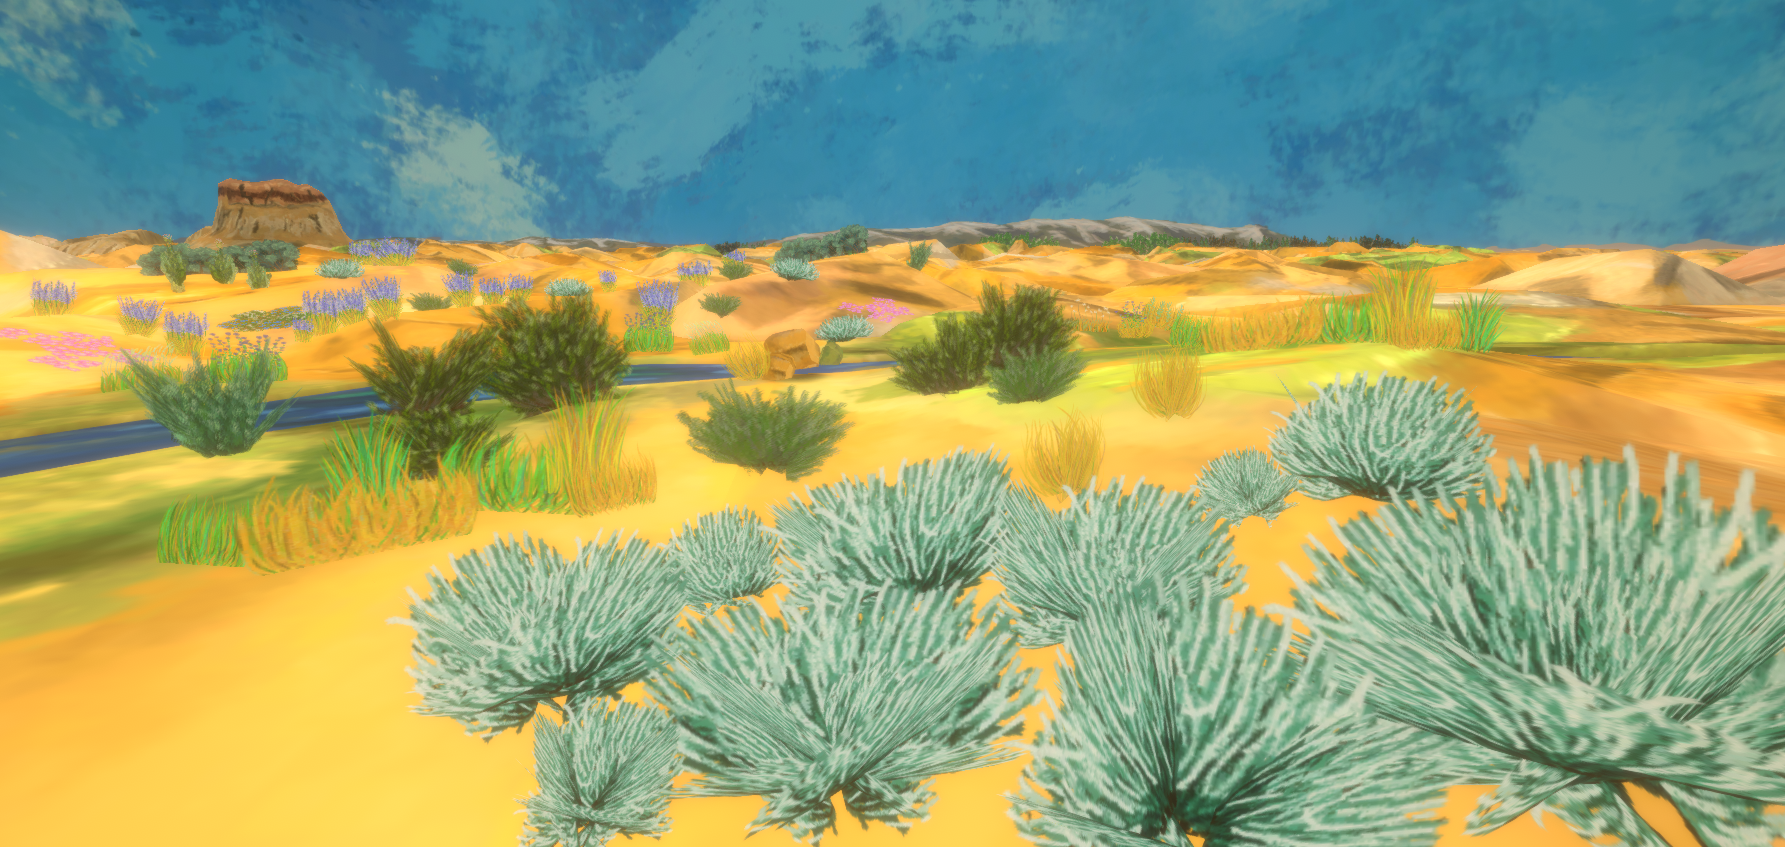
I’m trying to get the golden hour look. So far, my camera settings are as follow: